Storage Unit Organization

16
Apr
How to Organize a Storage Unit: Layout, Labeling, and Accessibility Tips
How to Organize a Storage Unit: Layout, Labeling, and Accessibility Tips
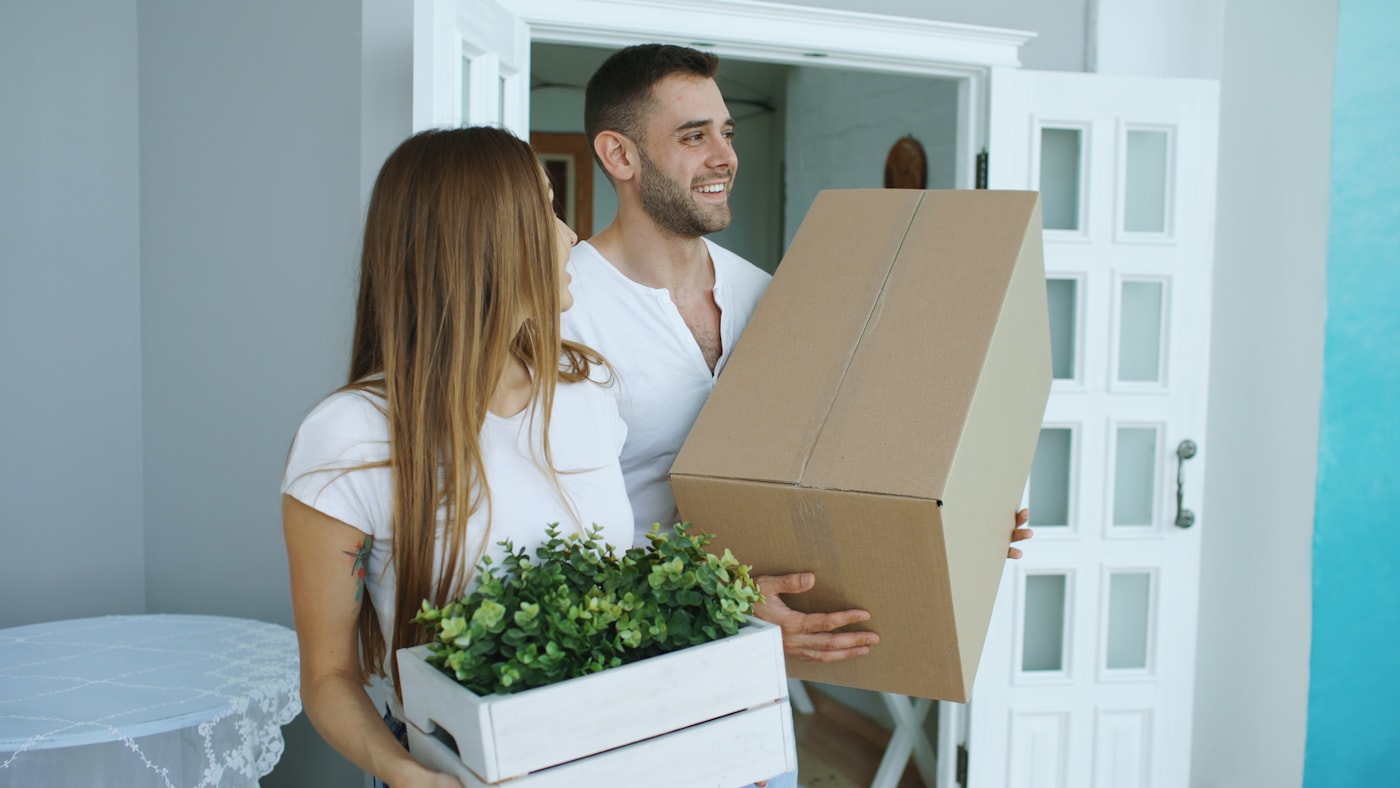
Most storage units start out organized. The first load goes in carefully — boxes stacked neatly, furniture placed deliberately, aisles maintained. Then a second trip happens under time pressure. Then a retrieval. Then another drop-off. Within a few months, the "organized" unit has become a wall of boxes and furniture that you dig through for twenty minutes just to find a single item.
Good storage unit organization is a system, not a one-time event. This guide walks through how to plan your layout before the first box goes in, how to label so you can find anything quickly, and how to maintain organization over time — even through multiple visits and retrievals.
Step 1: Plan the Layout Before You Load Anything
The biggest organizational mistake is starting to load without a plan. Once furniture is pushed to the back wall and boxes are stacked around it, the layout is effectively locked. Changing it requires an excavation.
Instead, take 15–20 minutes to sketch a rough floor plan before loading begins. You don't need to be precise — a simple rectangle divided into zones is enough.
The core layout principles:
Zone 1 (Back of unit): Rarely accessed items Large furniture pieces you won't need until full move-out belong here: sofas, bed frames, large appliances, dining tables. These become the "walls" of your unit and anchor the layout.
Zone 2 (Middle of unit): Moderately accessed items Boxes and items you might need to retrieve once or twice during the storage period. Seasonal items, the second layer of clothing boxes, extra kitchen equipment.
Zone 3 (Front of unit): Frequently accessed items Anything you expect to pull out and put back regularly. If you're storing during a renovation and you need the coffee maker, the work laptop bag, or the dog's winter coat, these belong near the front.
Create an aisle
If your unit is wider than 8 feet, plan for a center aisle that runs from front to back. This transforms a storage unit from an impenetrable wall into a navigable space. Yes, the aisle costs you some storage capacity — but it saves enormous amounts of time and frustration over the life of the rental.
For 10x10 units and larger, a 2–3 foot center aisle is achievable even with a reasonably full unit if boxes are stacked tightly on either side.
Step 2: Furniture Placement
Furniture is the framework of a well-organized unit. Place it intentionally and everything else falls into place around it.
Large furniture goes against the back and side walls
Sofas, dressers, wardrobes, and large appliances should go against the walls. This preserves floor space and creates a natural structure to work around.
Use furniture to your advantage
Dressers are particularly useful in storage units — they have drawers. Use them. Pack small items, linens, or clothing inside dresser drawers to use that space rather than packing separate boxes for everything.
Similarly, bookcases can remain loaded with books in storage if you've laid them on their back and stacked boxes on top. Tables can serve as shelves when flipped and stacked.
Stand sofas and mattresses vertically
A sofa stored vertically on its end takes up far less floor space than one stored horizontally. Use moving straps or bungee cords looped through the unit's wall brackets (if available) to keep it upright safely.
Mattresses should be stored vertically in mattress bags if at all possible. A king mattress stored flat takes up most of a 10x10 floor. The same mattress stored vertically against the back wall frees up the majority of that space.
Protect furniture during storage
Wrap upholstered furniture in moving blankets — not plastic wrap, which traps moisture. Use corner protectors on wood furniture. Disassemble table legs and attach them to the table with tape so parts stay together.
Step 3: Box Strategy
Boxes are where organizational discipline pays the biggest dividends.
Use uniform box sizes
Mixed-size boxes are a stacking nightmare. Standard moving box sizes — small (1.5 cubic ft), medium (3 cubic ft), and large (4.5 cubic ft) — stack predictably and stay stable. If you're using a variety of grocery store and random boxes, they'll create unstable columns that can topple.
Stack by weight, not convenience
The heaviest boxes go on the bottom. Lighter boxes go on top. This is structural — heavy boxes on top of light ones collapse the lower box, damaging contents and making the stack unstable.
As a general rule:
- Books, kitchen items, tools: bottom of the stack
- Medium-weight items: middle
- Soft goods, linens, fragile wrapped items: top
Fill every box completely
A partially filled box will collapse under weight. Fill any gaps with packing paper, bubble wrap, or soft items. A full box is a structurally sound box.
Stack boxes in stable columns, not pyramids
Pyramiding — staggering boxes like a brick wall — is common in moving trucks but less stable in storage units. Stack boxes in straight columns with larger boxes on the bottom and smaller on top. For tall stacks (more than 4 boxes), alternate stack orientation between rows to provide lateral stability.
Step 4: Labeling That Actually Works
This is where most people underinvest in organization and overinvest in frustration later. The goal of labeling isn't to know vaguely what's in a box — it's to be able to find a specific item without opening more than one box.
Label all four sides
When a box is in a stack, you typically only see one face. If that face doesn't have a label (or the label faces the wall), you have to move the entire stack to find what you need. Label all four vertical sides of every box, and add a label on top for stacks where you can see it.
Be specific
"Kitchen" is not a useful label. "Kitchen — pots and pans, mixing bowls, baking sheets" is useful. "Books — cookbooks + reference" is useful. "Misc" is a box you'll regret.
Number the boxes and keep a master inventory
Assign each box a number and maintain a master list — a simple spreadsheet or notes app works perfectly. When you need to find something specific, search your inventory rather than your unit.
The format is simple:
- Box 1: Kitchen — pots, pans, baking sheets, mixer
- Box 2: Books — cookbooks, travel guides, reference
- Box 3: Master bedroom — winter clothing, extra linens
Color-code by room
Use colored tape or colored labels by room. Blue for bedroom, green for kitchen, orange for living room. Color-coding lets you identify a box's origin at a glance without reading the label.
Step 5: Create a Storage Unit Map
Once the unit is fully loaded, spend five minutes creating a visual map of where things are. A rough sketch or a quick photo from the doorway works.
Label the zones on the map ("back left: furniture," "front right: kitchen/living room boxes," "left wall: outdoor gear"). Store this map somewhere accessible — a note on your phone, attached to the unit door inside, emailed to yourself.
When you need to find something six months later, this map turns a 30-minute excavation into a 5-minute retrieval.
Step 6: Shelving Units Change Everything
If you're renting a 10x10 or larger unit for more than 3–4 months, a freestanding metal shelving unit (the kind sold at Home Depot or Costco for around $80–150) dramatically increases storage capacity and organization.
Shelving allows you to:
- Use vertical space more efficiently
- Keep smaller items organized without boxes
- Create a filing-cabinet-style system for specific categories
- Maintain visibility of items without stacking
Set shelving along the side wall of the unit so it doesn't block the center aisle. Use it for items you need access to frequently — tools, small appliances, specific boxes of regularly needed items.
Maintaining Organization Over Time
A well-organized unit degrades without maintenance. Every retrieval is an opportunity for items to get out of place.
A few habits that help:
- Always put items back in their designated zone after a retrieval
- Spend 10–15 minutes reorganizing after any major retrieval visit
- Keep a small inventory update routine: when you take something out, note it; when you add something, add it to the inventory
- Revisit the layout every 3 months for long-term rentals
LuxeMove Can Help You Start Organized
When LuxeMove loads a storage unit as part of a move, we build organization into the loading process — not as an afterthought. We work with clients to zone the unit, protect furniture properly, and ensure that items likely to be retrieved first are positioned accordingly.
If you're planning a storage-involved move in Los Angeles, visit our services page to learn more, or contact us to talk through your logistics.
An organized storage unit takes an extra hour to set up properly. Over the life of a rental, that hour pays for itself in saved retrieval time, protected belongings, and the absence of frustration every time you walk through the door.
Ready to Move with LuxeMove?
Get a free quote for your Los Angeles move — residential, office, or specialty items.
Get a Free Quote